To register users on the One Platform already with specific roles, follow the next steps.
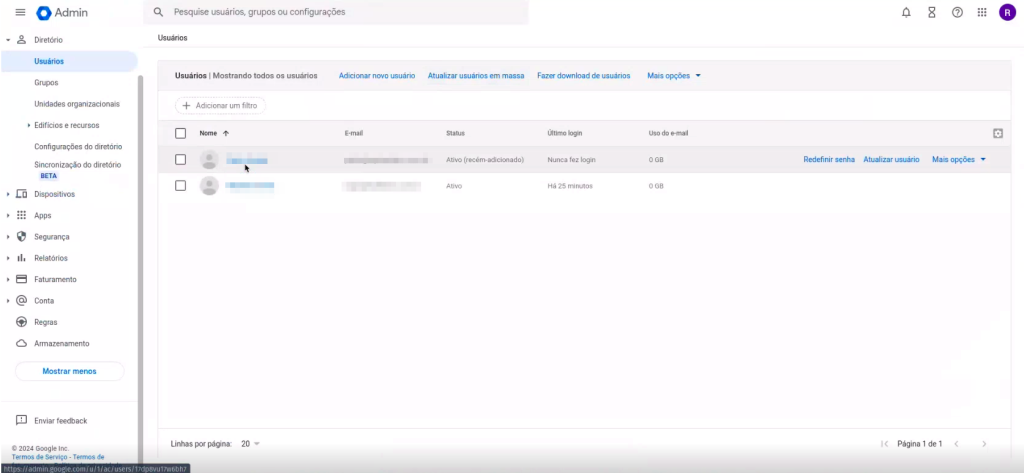
In the Google Admin Panel, click on “Directory” > “Users“.

Within the “Users” tab, click on “More options” > “Manage Custom Attributes“.

Click on “Add Custom Attribute“.

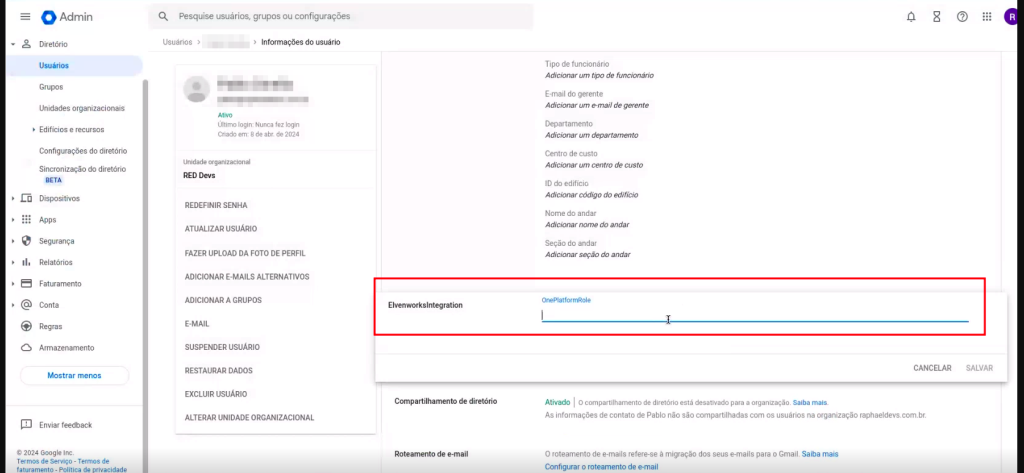
Within the fields “Category” and “Custom Field” > “Name“, you need to follow the standard below.
Category: ElvenworksIntegration
Custom Field:
– Name: OnePlatformRole
– Type: text
– Visibility: Visible to user and admin
– Number of values: Single value

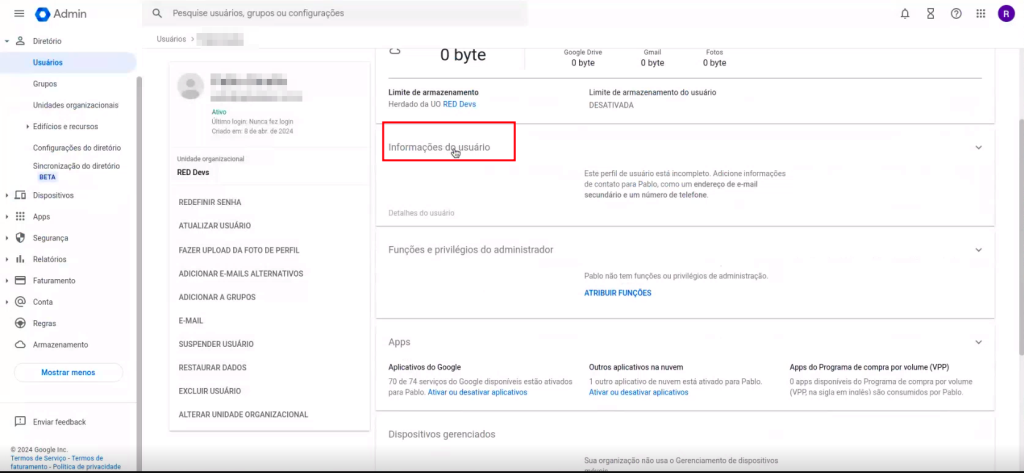
After this configuration, go back to the users tab and click on the user to whom you would like to assign a ROLE.