Configuring in Sentry
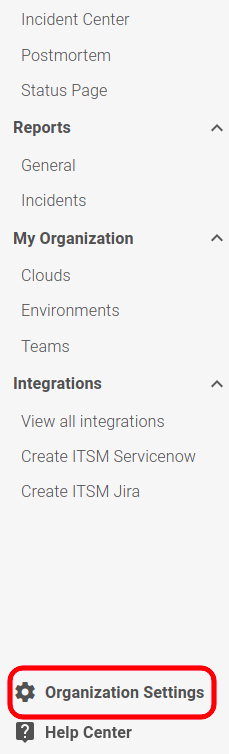
1. Primeiro clique em “Settings” e em seguida em “Integrations”
1. First click on “Settings” and then on “Integrations”

2. Search for “Webhook” in the search bar

3. Click on “Add to Project” (If you have more than 1 project, choose which one you want to create the integration for)

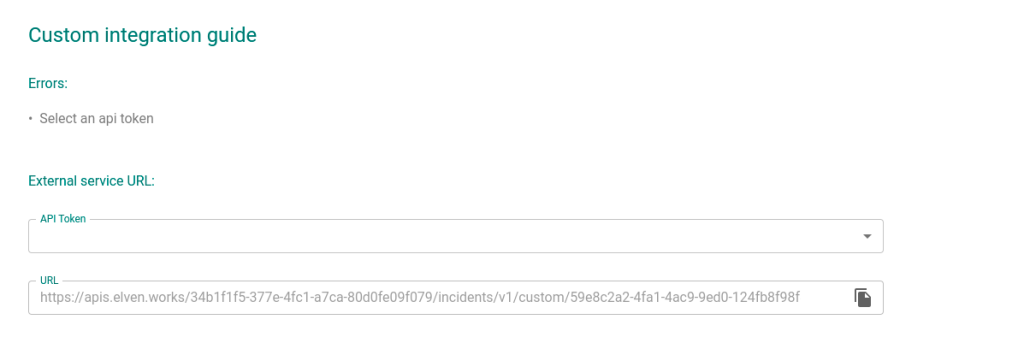
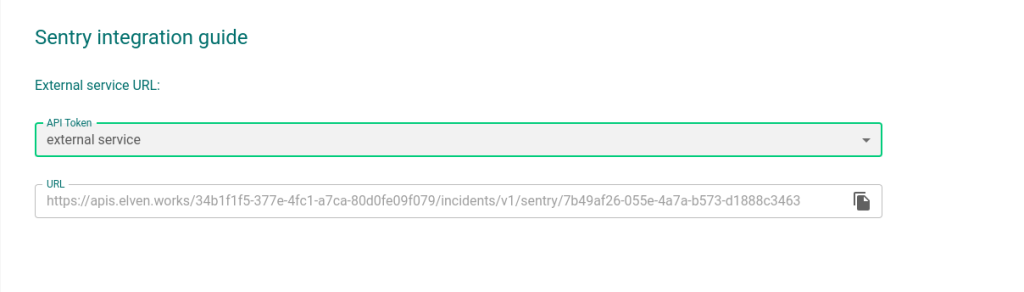
4. In the “Callback URLs” field, enter the URL provided by the ElvenWorks team, click on “Save Changes” and then click on “Enable Plugin”

5. To test the integration, you can click on “Test Plugin” (An incident must be created on OnePlatform)

6. To link the webhook to an alert, enter the conditions configuration and, in the “THEN” field, select “send notification via an integration”, then choose the “WebHooks” option

Ready! Your integration with Sentry is already configured.